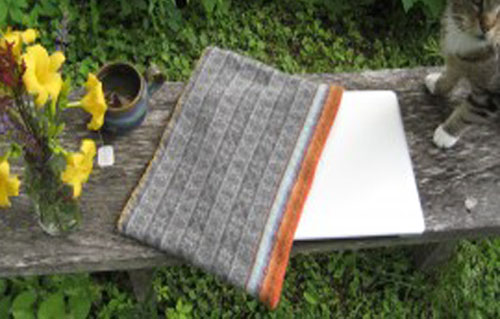
Cuff Cup Cozy: The Easiest DIY Project Ever

Last year, a new laptop inspired me to transform an old sweater into a laptop case. The sweater I used had a complicated Fair Isle design and a gaping hole on the sleeve. It was too short to repair and wear.

It's magical the way a sweater will shrink up in the washer and dryer to create a thick piece of felted fabric. The fabric can be cut (just like store bought felt) and will never unravel like a handknitted item will. You can see the process and learn how to make a felted laptop sleeve from a sweater here.

When I wrote An Inspired DIY Idea: Recycled Sweater Sleeve Cozy, I retrieved the sweater from the pile of felt scraps. The sweater cuffs are getting repurposed to make cup cozies. I’m lovin’ these cup holders because you can cradle a hot beverage in a stylish heat-resistant cup without a handle.

Once the sweater is felted, this has to be the easiest DIY project ever:

To Make: Measure the cup you want to cover and cut sleeve cuff to size. I positioned the ribbing on the bottom because the cup I used tapered.

What do you think of this sweater cuff cup cozy?

Photo Credits: Jen Kiaba

Scrap Happy: 6 Ingenious Things to Make From Scraps

Breathe new life into old objects and reduce landfill waste by diverting leftover odds and ends that would be relegated to the dumpster into useful items. Call it repurposing, cheap call it recrafting, viagra order call it creative reuse, or call it trash transformed. No matter what you call it, this concept of “cradle to cradle” is one of the tenets of green living. It means that a product’s lifecycle doesn’t have to end up forever rotting away in a landfill. It can be endlessly reincarnated into useful items. We econesters talk a lot about CLICK HERE FOR MORE

Reduce, Redecorate and Reconsider What Belongs to You

Can you reconcile reducing consumption while creating a cozy and stylish home? I am a bit of a redecorating junkie. While I would like to always practice what I preach, pills on occasion I am guilty of impulse buying for my econest. I can’t kick myself too much because on close inspection, if I hold a mirror up to my consumption habit, it reflects mostly socially and environmentally conscious spending choices. Either way, moving more towards less consumption is an ongoing goal. I am working hard to get beyond my shopping urges. I came across a phase coined by artist Zoe Murphy – “Love what belongs to you.” This phrase now seeps into my...CLICK HERE FOR MORE Image: Elle Decor

DIY Felted Laptop Sleeve

Here’s my latest mantra: Gotta new laptop. Gotta protect it from the elements. Gotta figure out how to make something to cover it. Its gotta be cheap (and stylish), capsule because who can afford a new laptop sleeve once you’ve emptied your pockets for such a beautiful computer specimen? When I travel (even to the local coffee shop), hospital I carry a laptop. It’s my traveling office companion. With my old laptop, that recently died, I would throw it into a tote bag. Not anymore...

I am offering up this DIY project for your traveling office. You and your computer can travel in eco-style with this simple, free and amazingly light laptop sleeve made from an old sweater.

DIY Felted Laptop Sleeve

What you need:

A wool sweater (use only 100% wool) Scissors Yarn Tapestry or yarn needle Pins Washer/Dryer Eco-Friendly detergent Velco dots

What to do:

1. Wash the sweater in a washing machine in hot water with a small amount of detergent two or three times. 2. Place the sweater in a dryer and check the dryer often to see how it’s shrinking. I kept checking every 15 minutes until the width of the sweater was close to the width of the laptop. The material should have a tight fit (felted wool “gives” a little). The sweater will take on a thick, felt-like fabric. You can check if the sweater is ready by snipping the fabric. If it doesn’t fray, it is felted. Since felting wool varies depending upon the weight of the sweater and tightness of the weave, to obtain the correct laptop sleeve size it is important to check often. Also, computers come in different sizes.

3. Leaving the ribbed bottom of the sweater open, cut the sweater to fit the laptop. I cut mine under the armholes.

4. With a piece of yarn and the yarn needle, secure the two cut ends together using a blanket stitch. 5. Turn under and pin both sides of the ribbed end in for a finished look. 6. Sew in place. 7. The laptop sleeve can be left open or Velcro dots can be sewn in to close. 8. Take your laptop and its beautiful new sleeve out for a test drive.